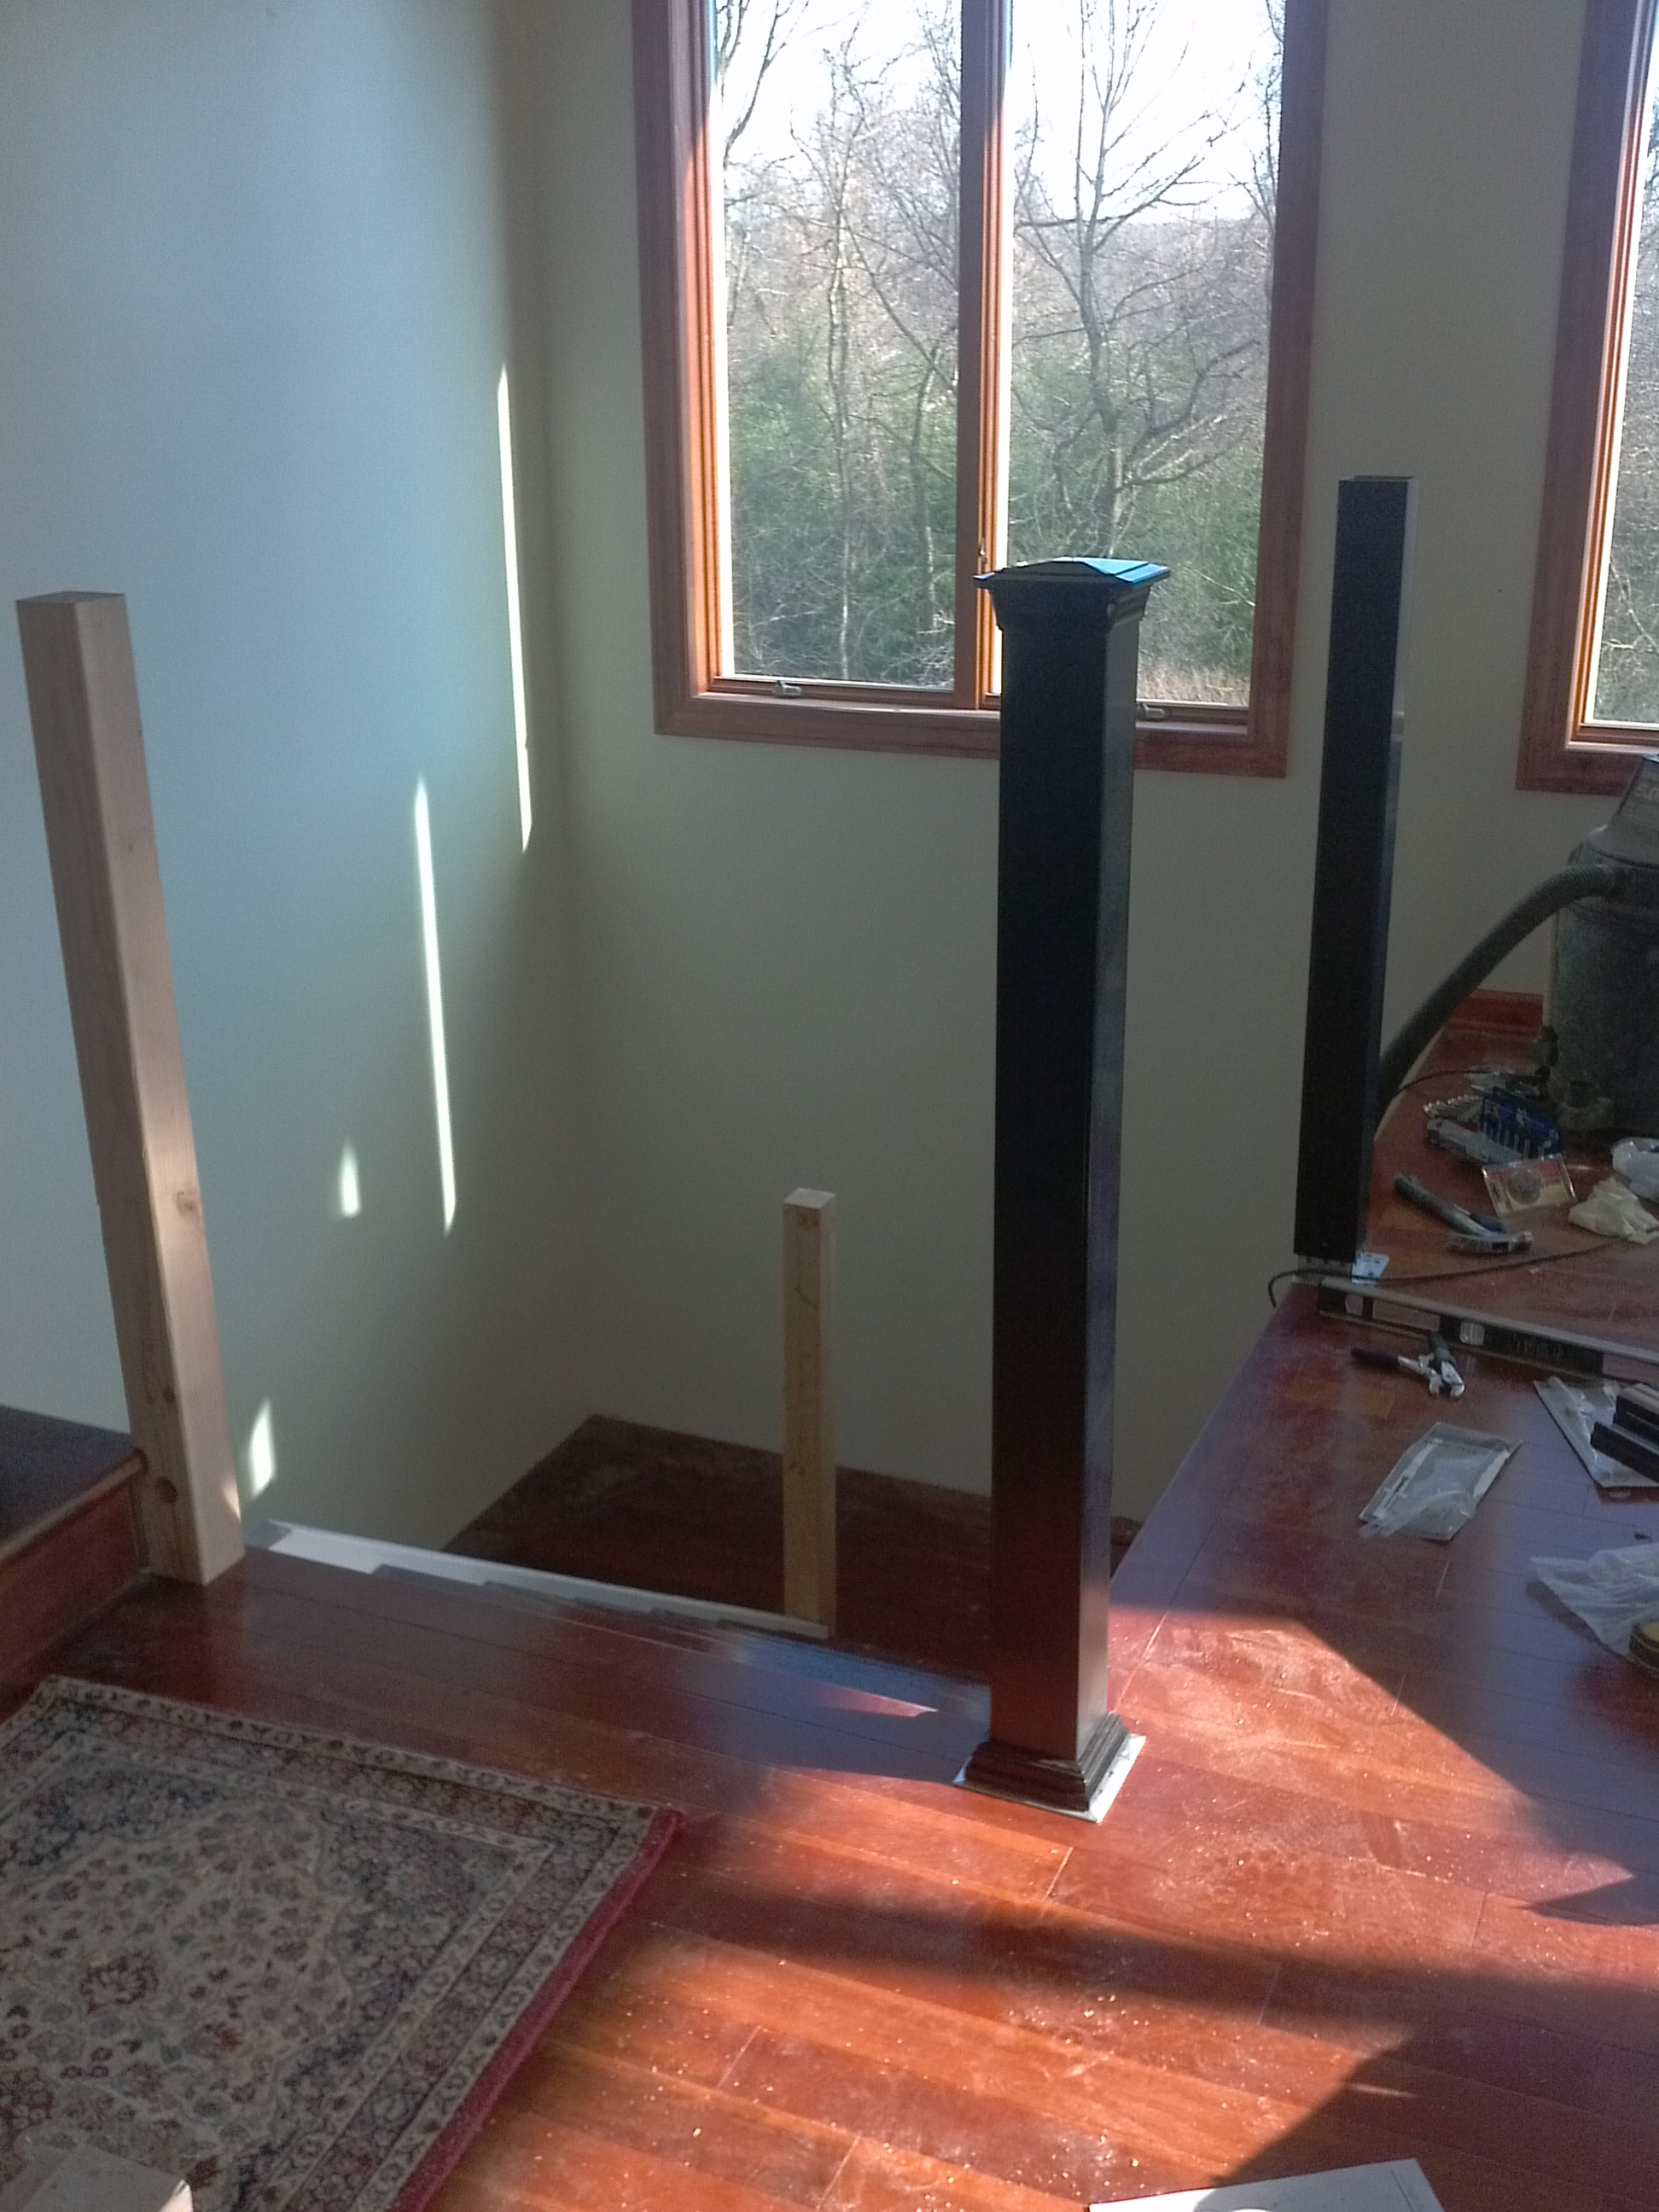
Installing the railing posts was a bit less than fun. They have a
12" bolt that goes into the support beams, and then aluminum
brackets that attach them to the hardwood floor and/or stair
stringers.
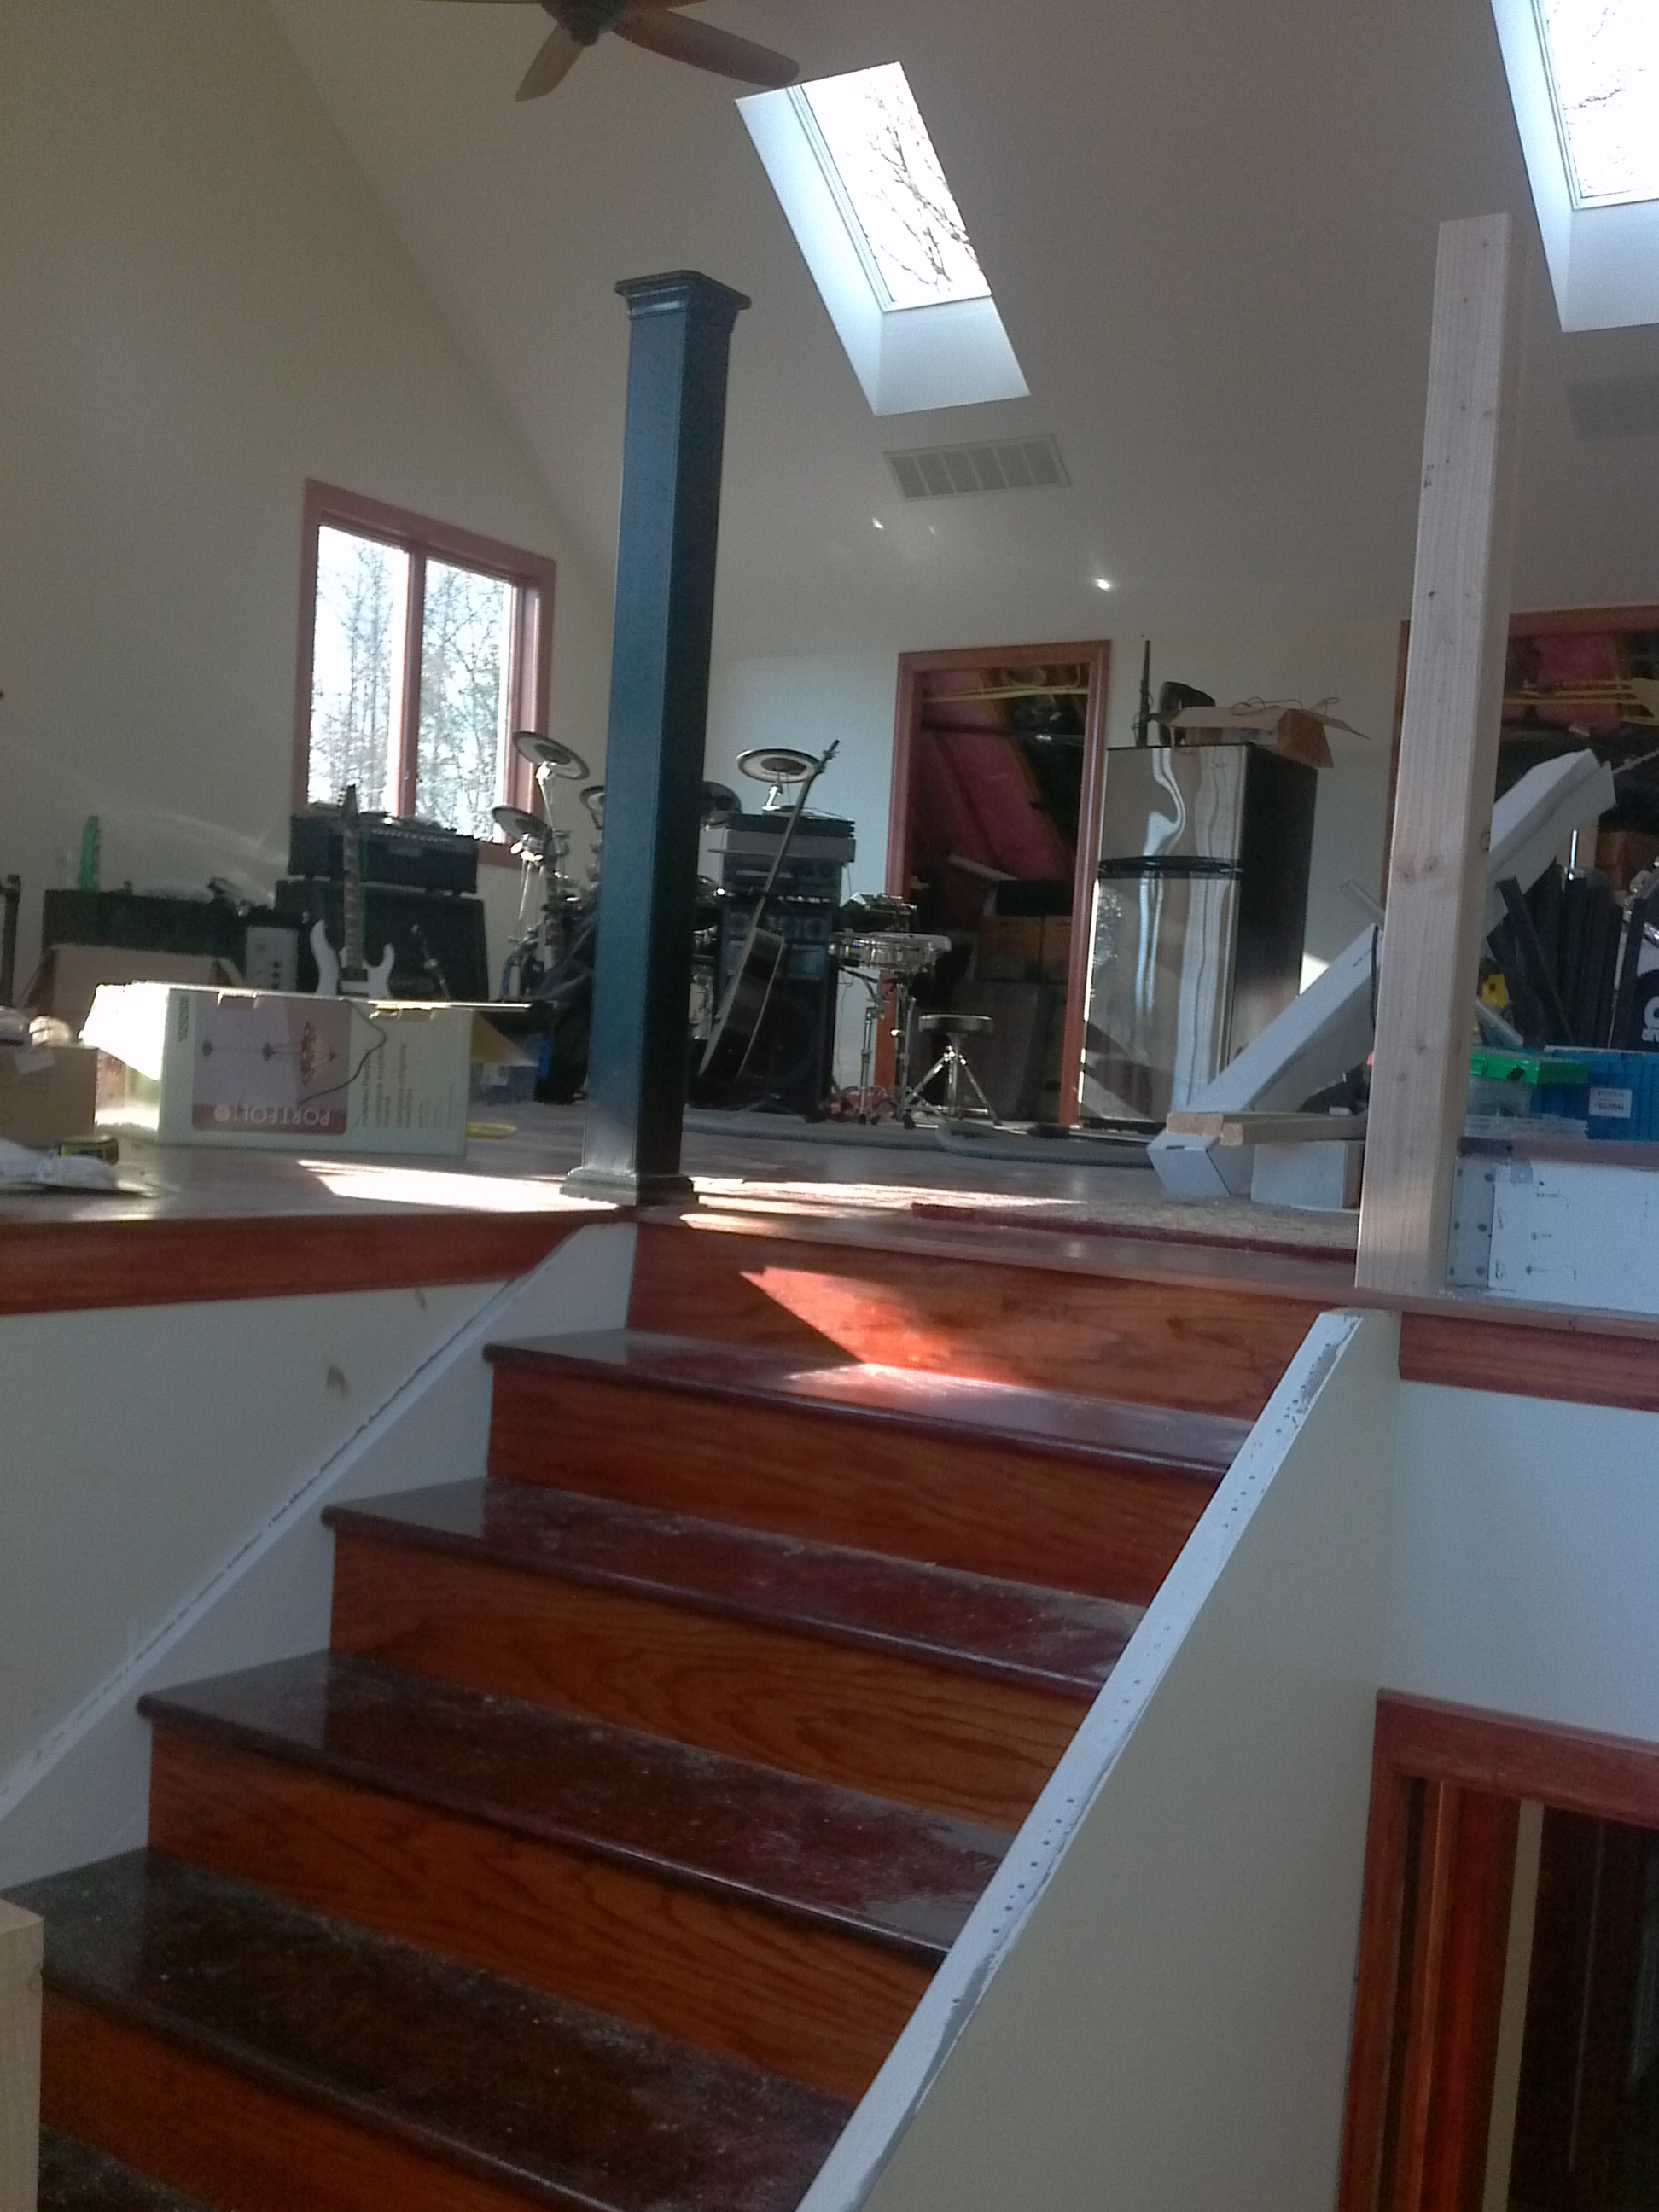
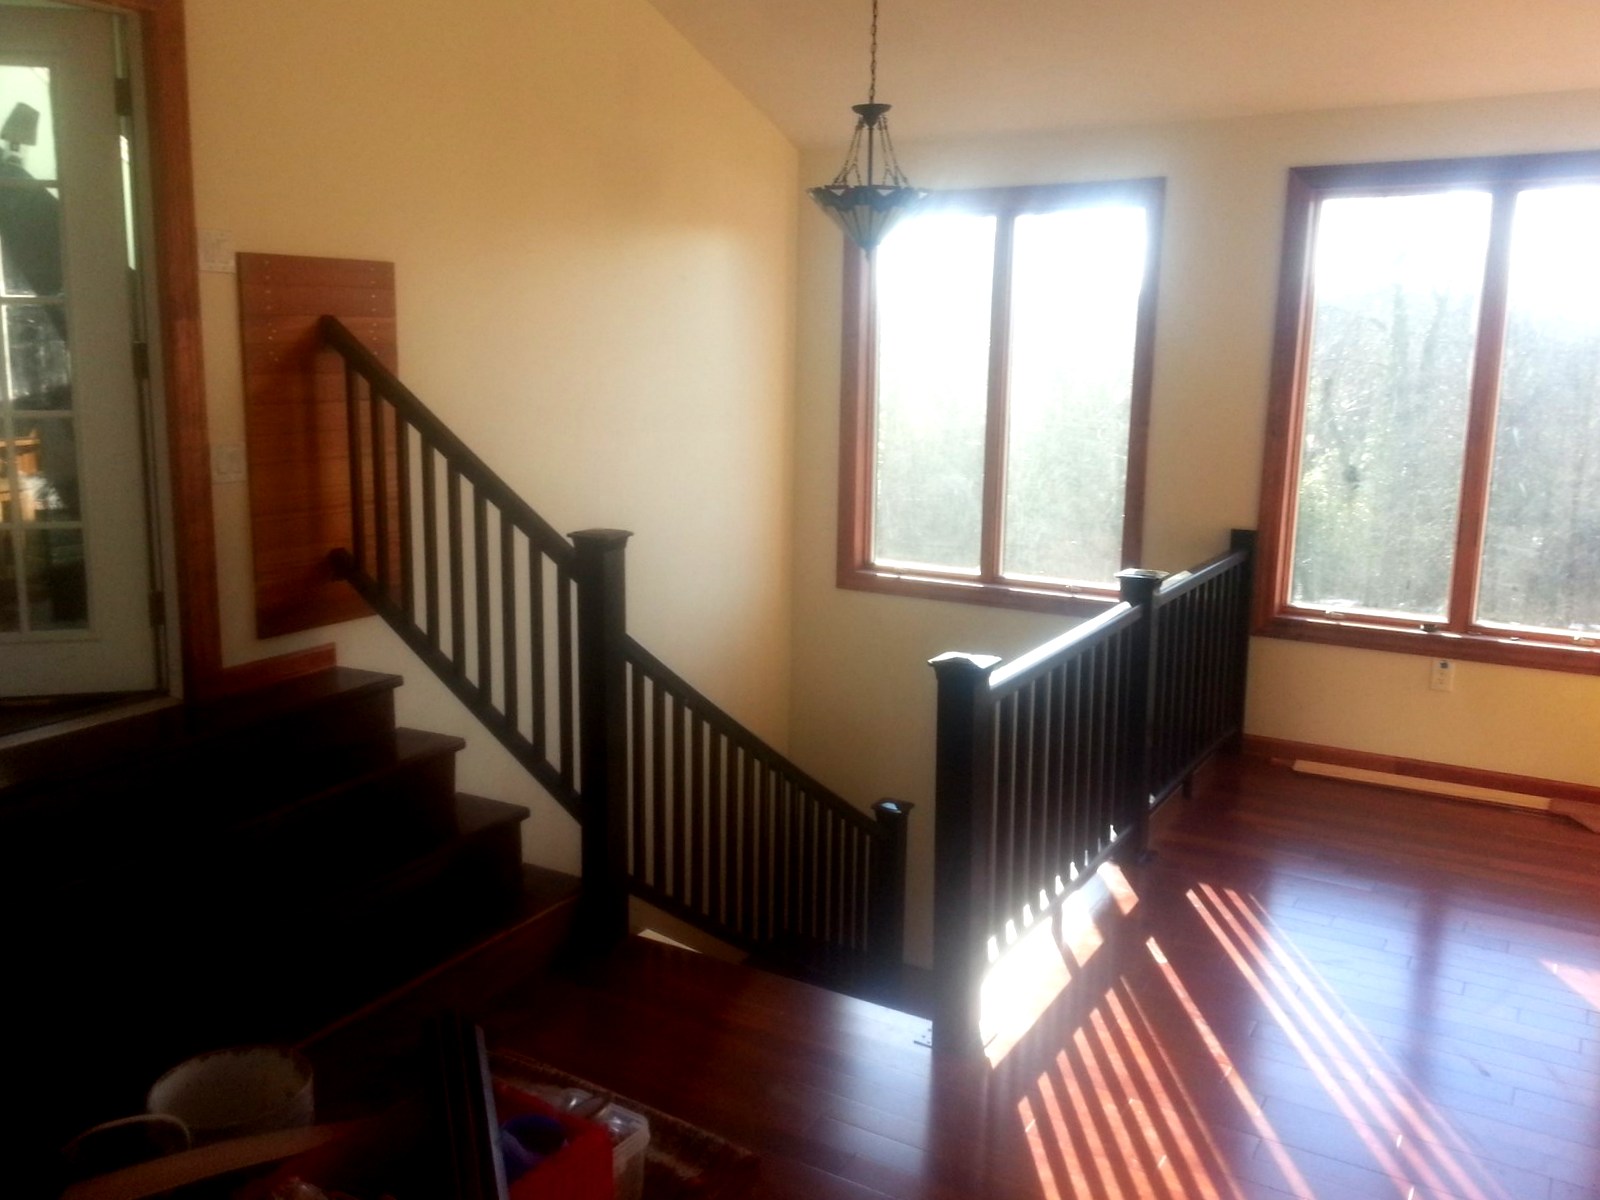
Above you can see the alumnum brackets we made, each has 24 screws
securing the bracket set to the floore and post. The sleeves
are black PVC. It makes more sense together.
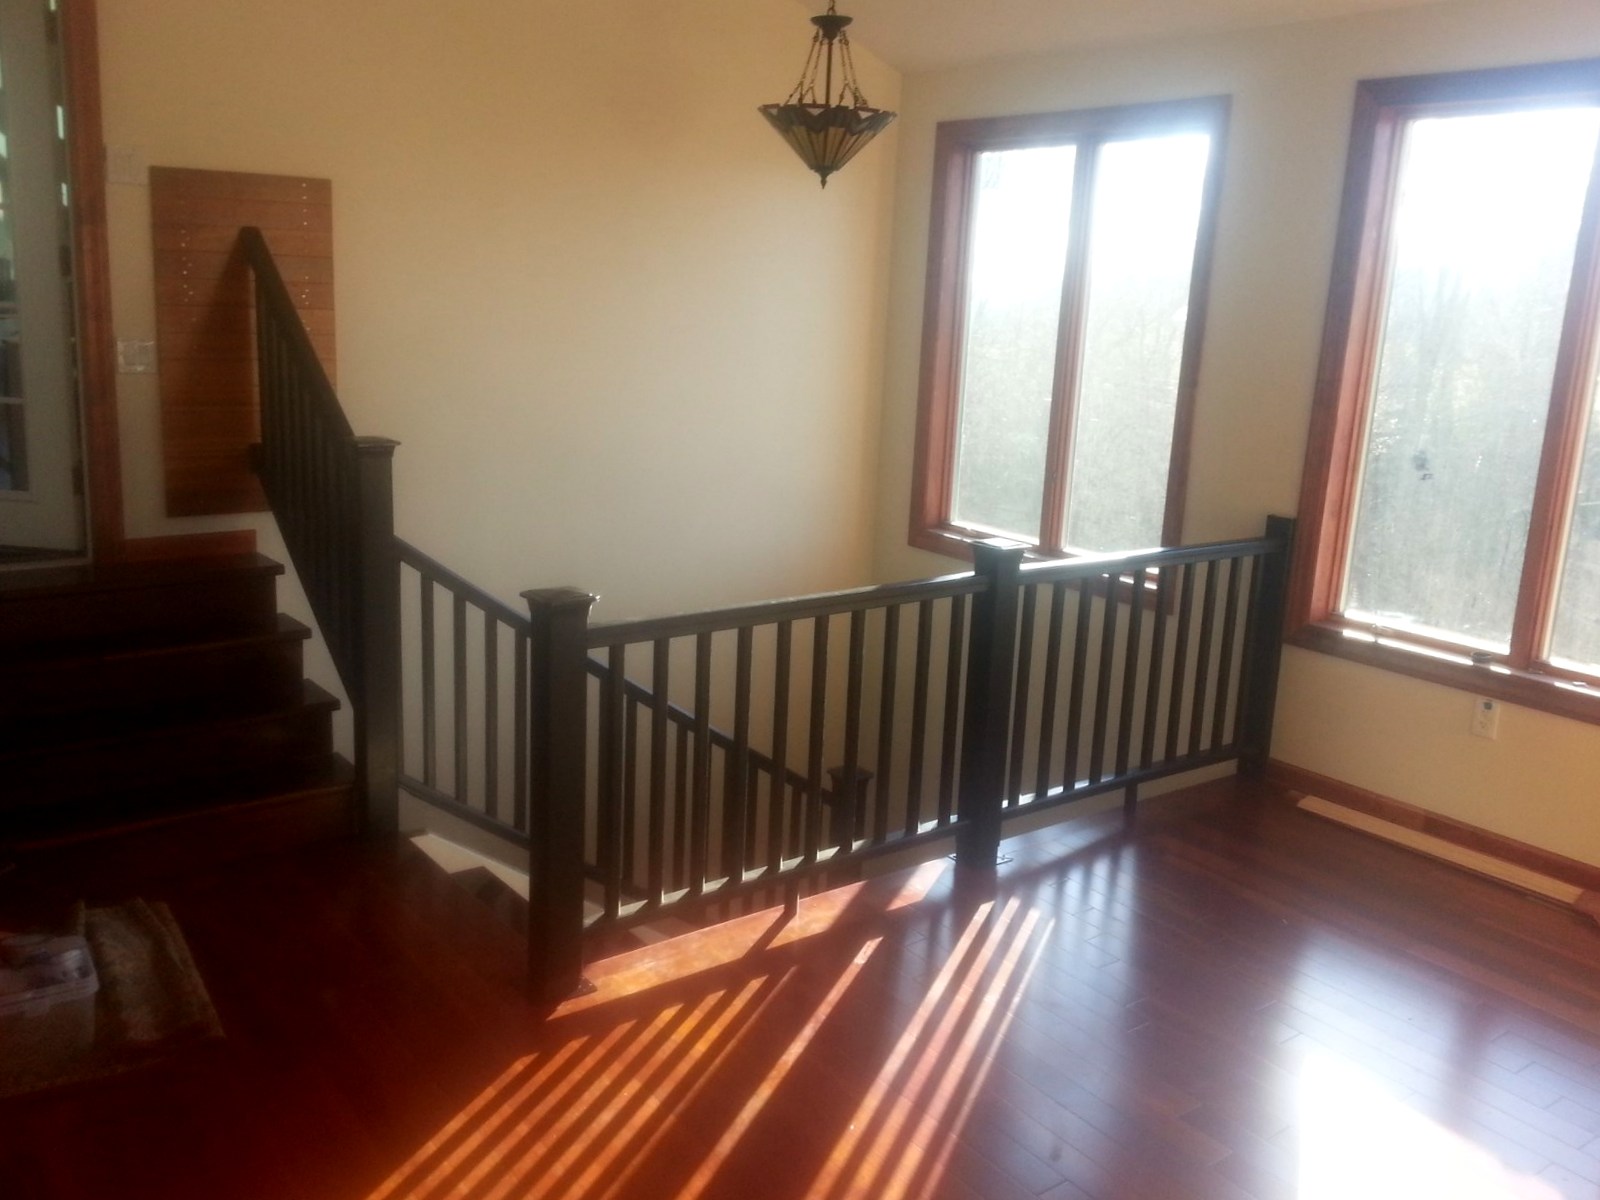
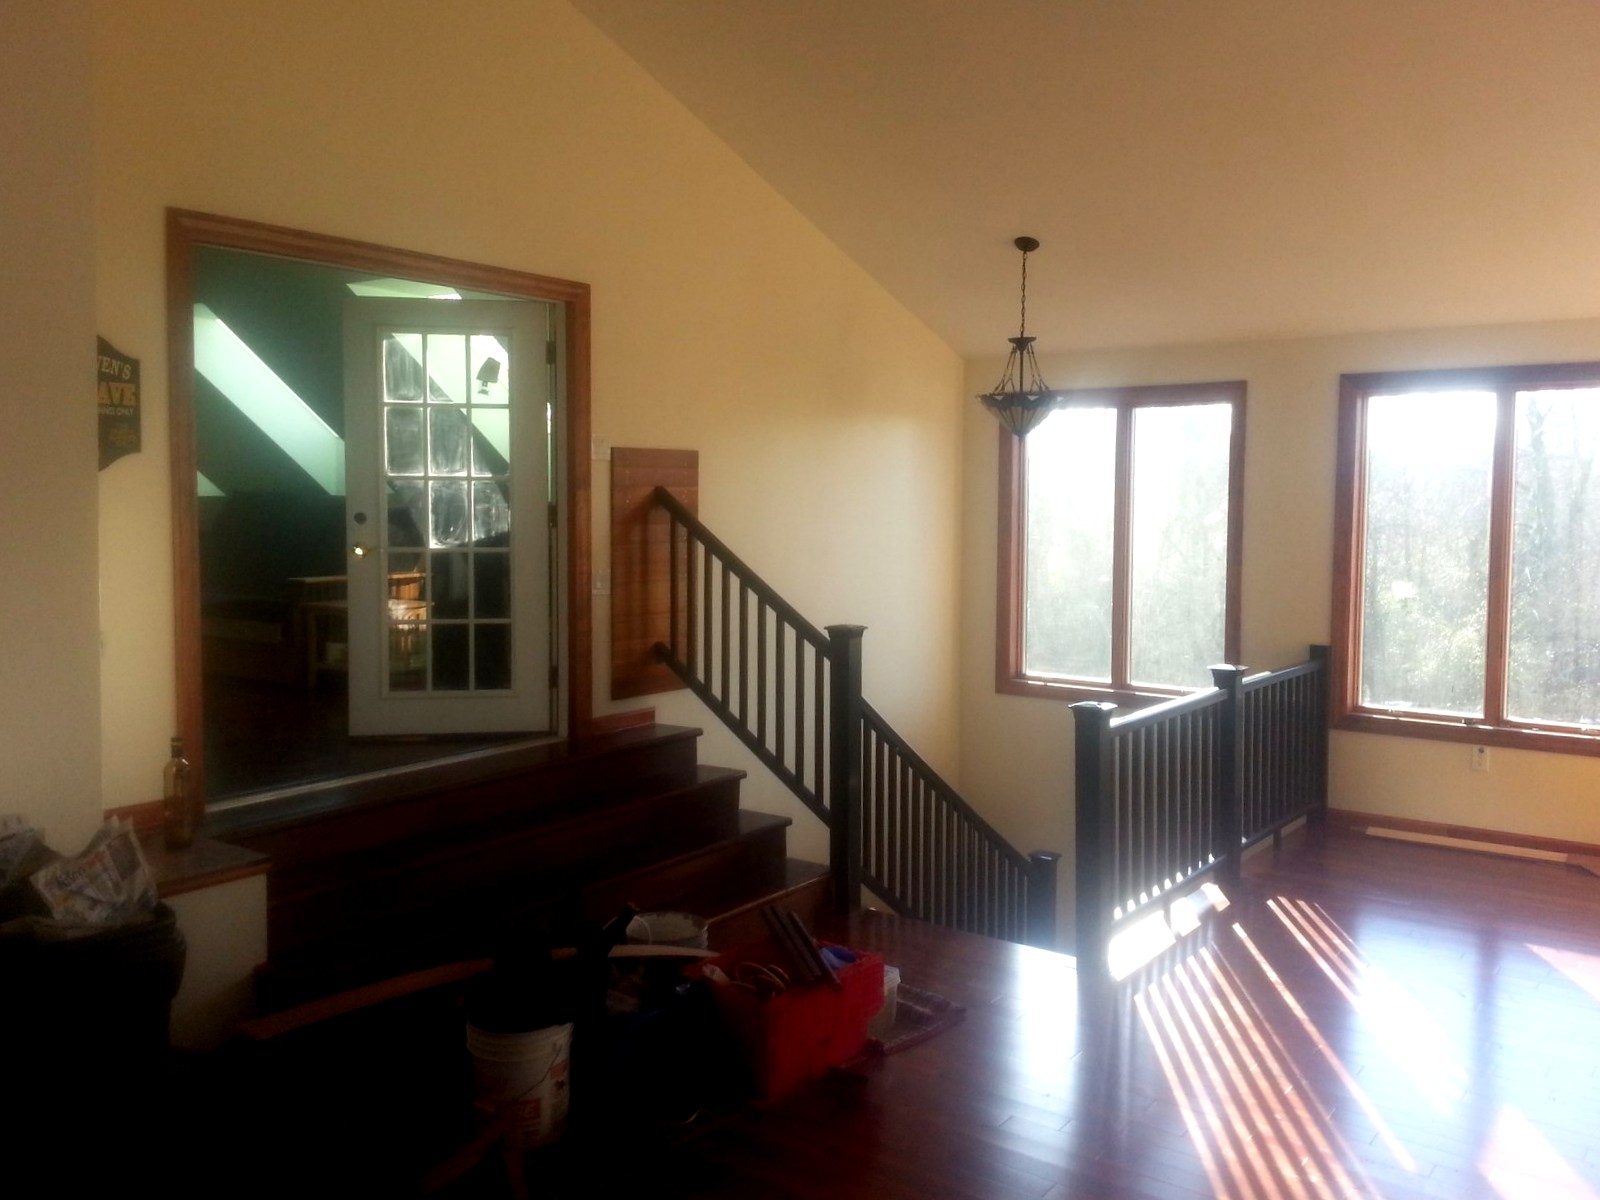
The upper left wood panel is made of Kempas flooring...we call it
the "Art Wall". The stainless screws attach to the studs.
That was fun. The posts have a 12" long screw going into
floor, and then four aluminum angle brackets around the perimeter
with 1.5" deck screws, 3 per bracket into the floor and 3 more into
the post (24 per post).
On the Man Cave Wall we built an "Art Wall" out of solid Kempas to
bridge the studs in the wall.
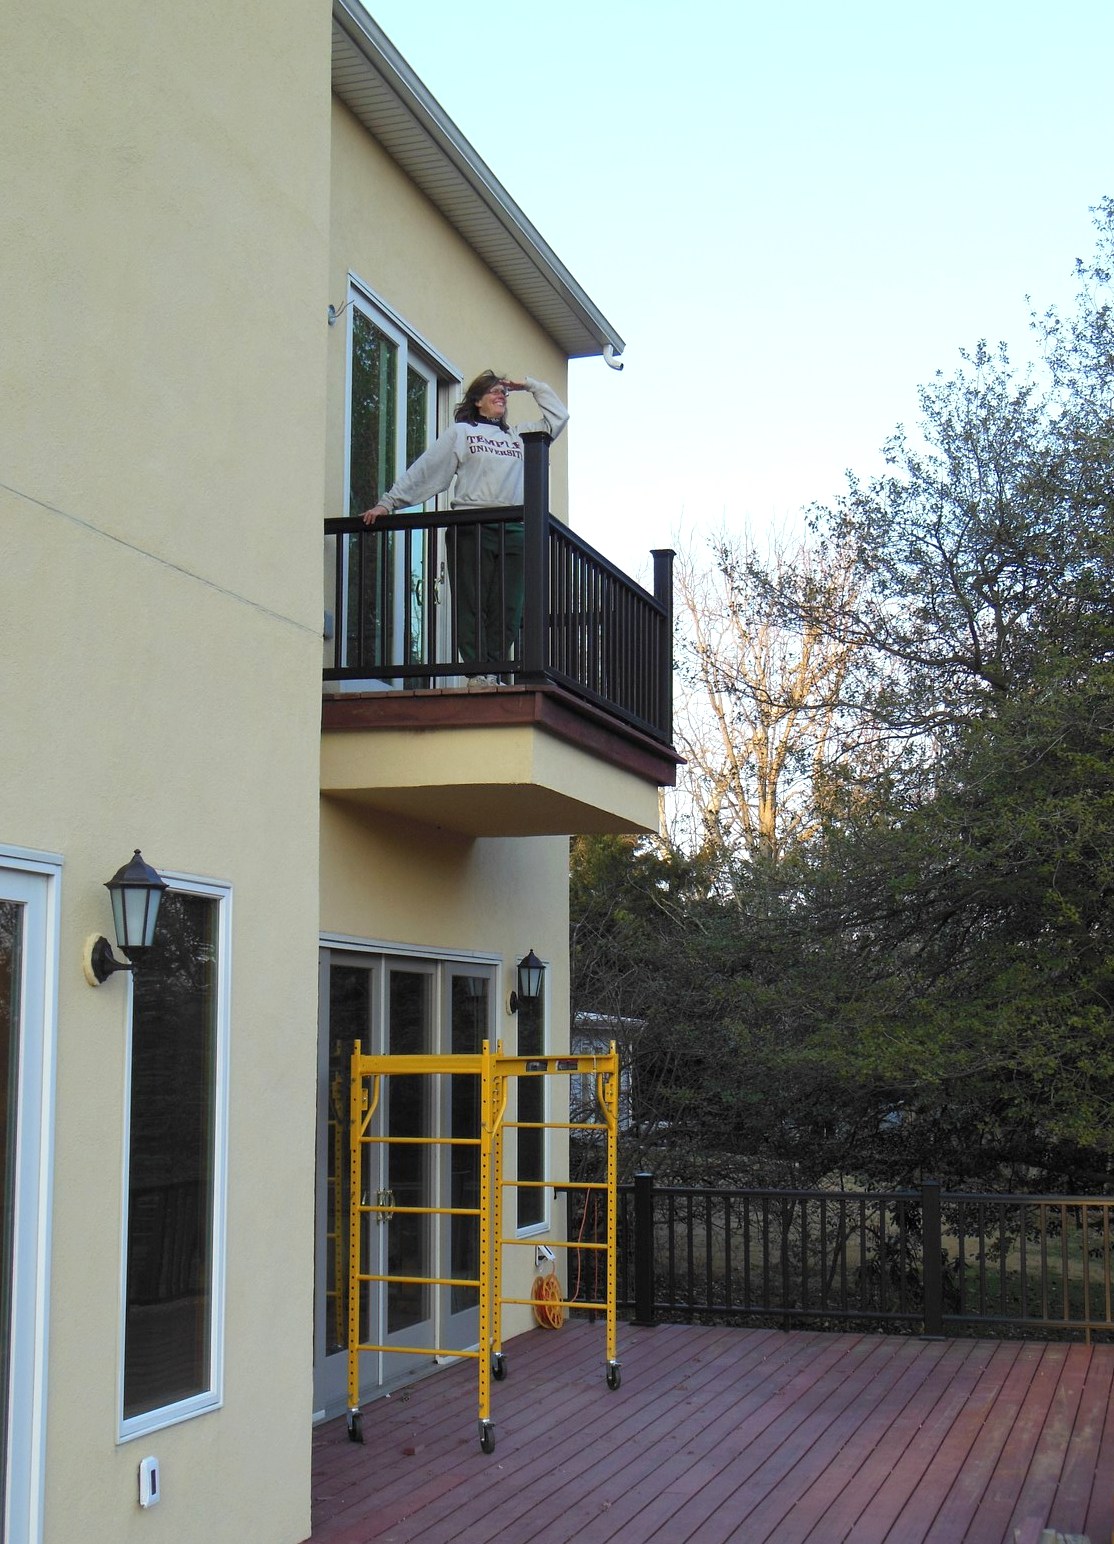
Now to the outside. This was fun in 28 degrees with the wind
blowin' what seemed like 20 knots!
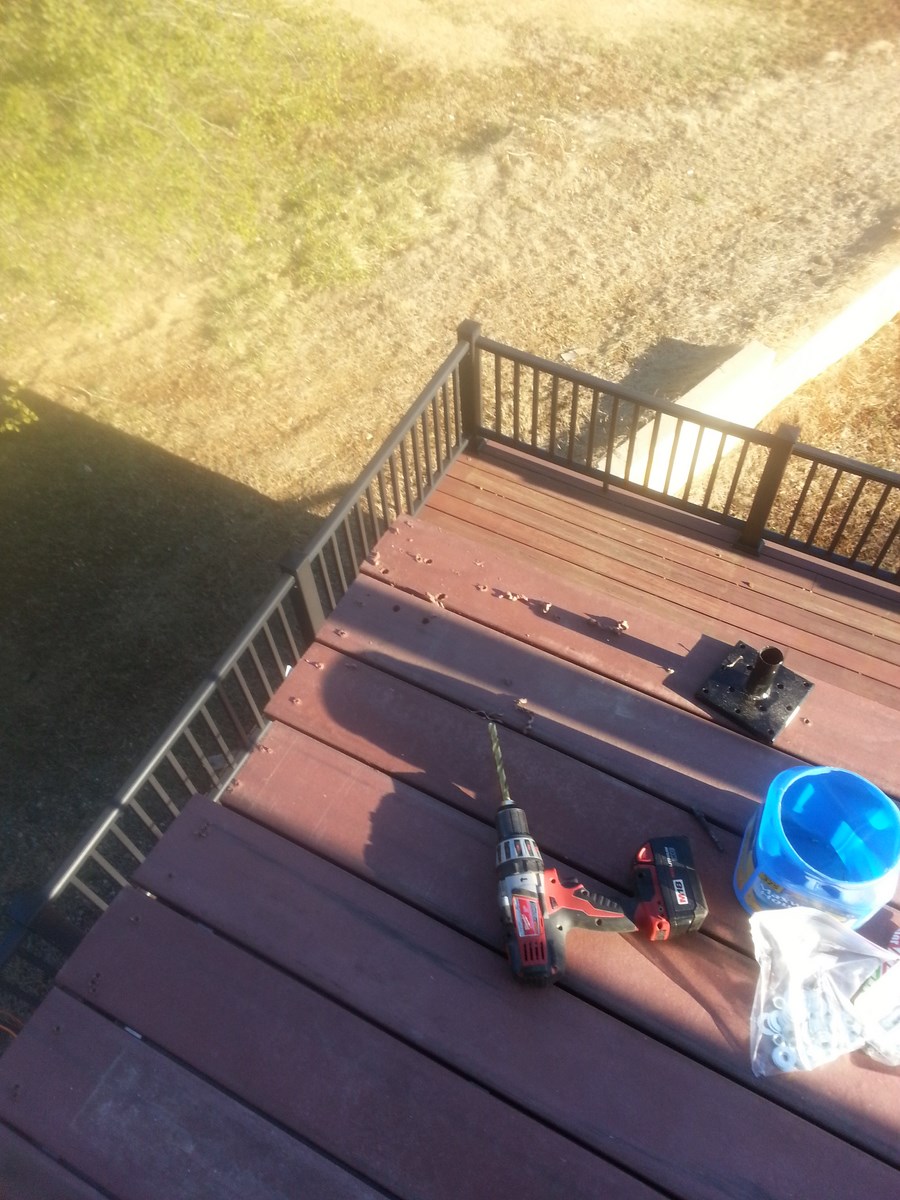
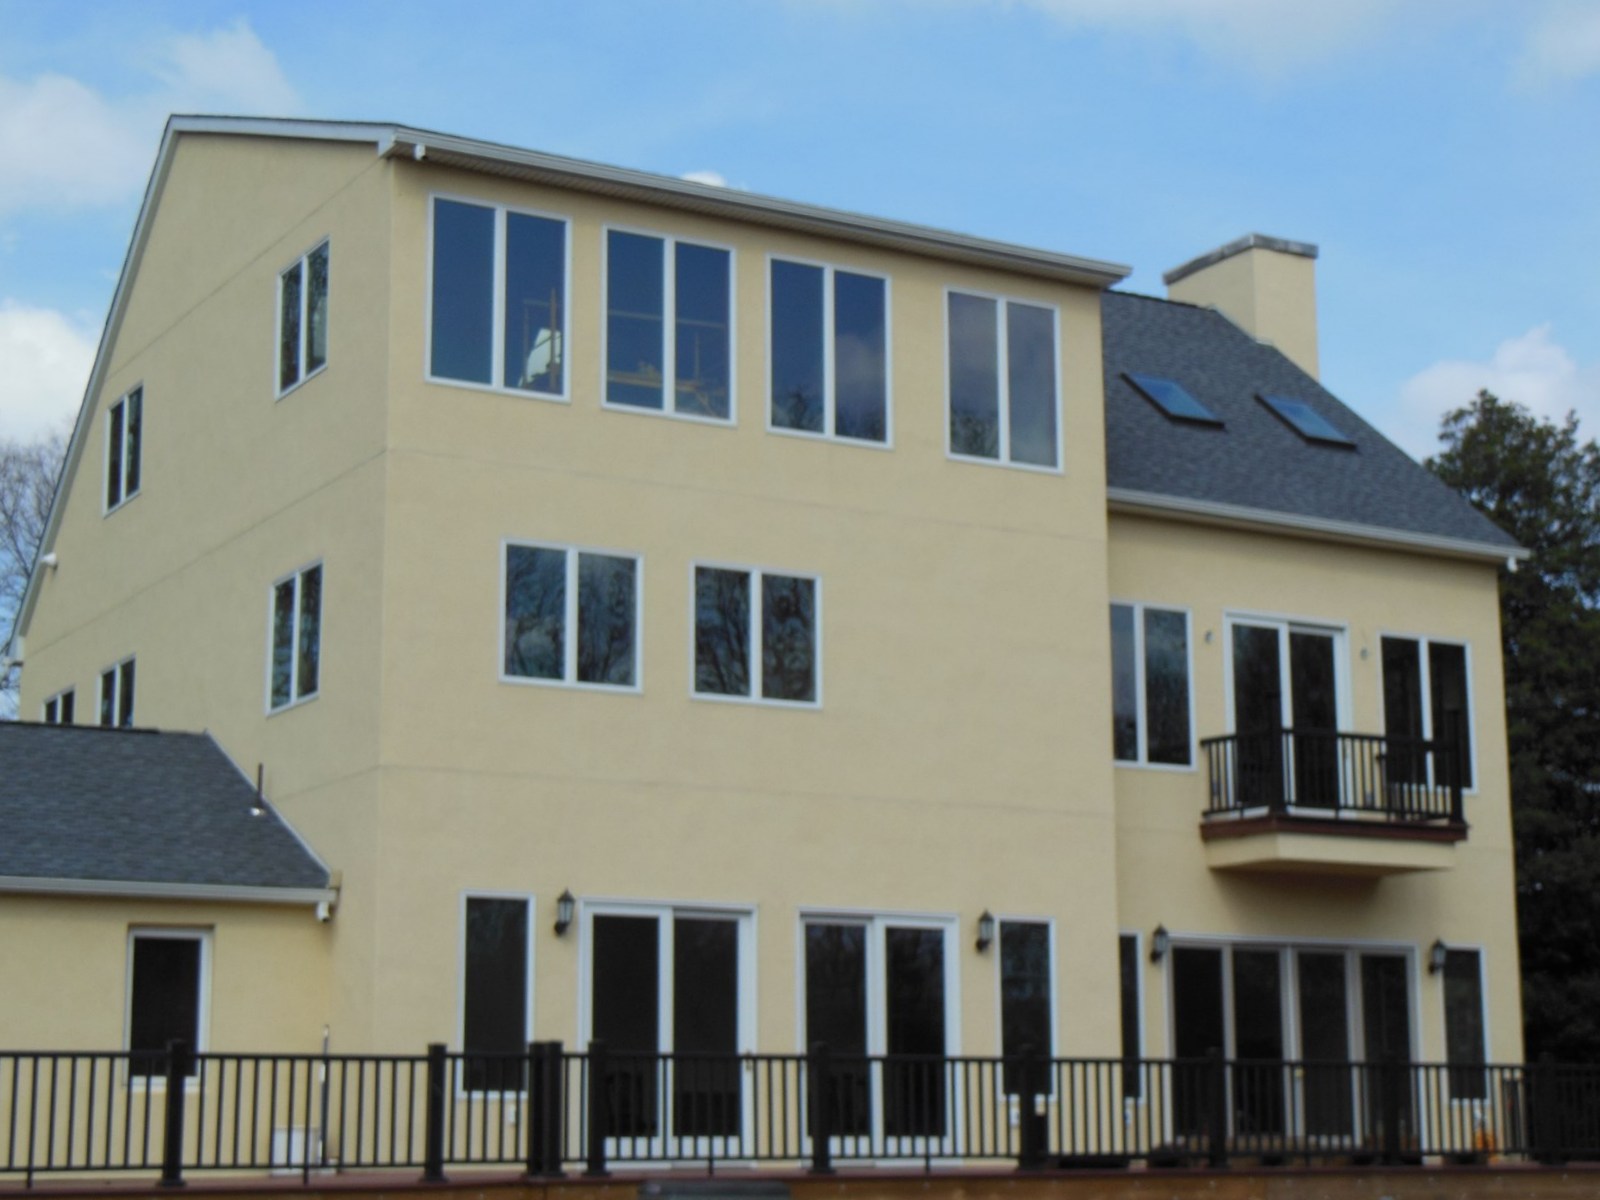
I designed the balcony so the deck surface is only attached to the
structure at the perimeter. Every 16" there is an aluminum U
channel supporting the deck and keeping it off a 20 Gage stainless
sheet that covers the deck and overhangs 4"..no punctures, no leak.
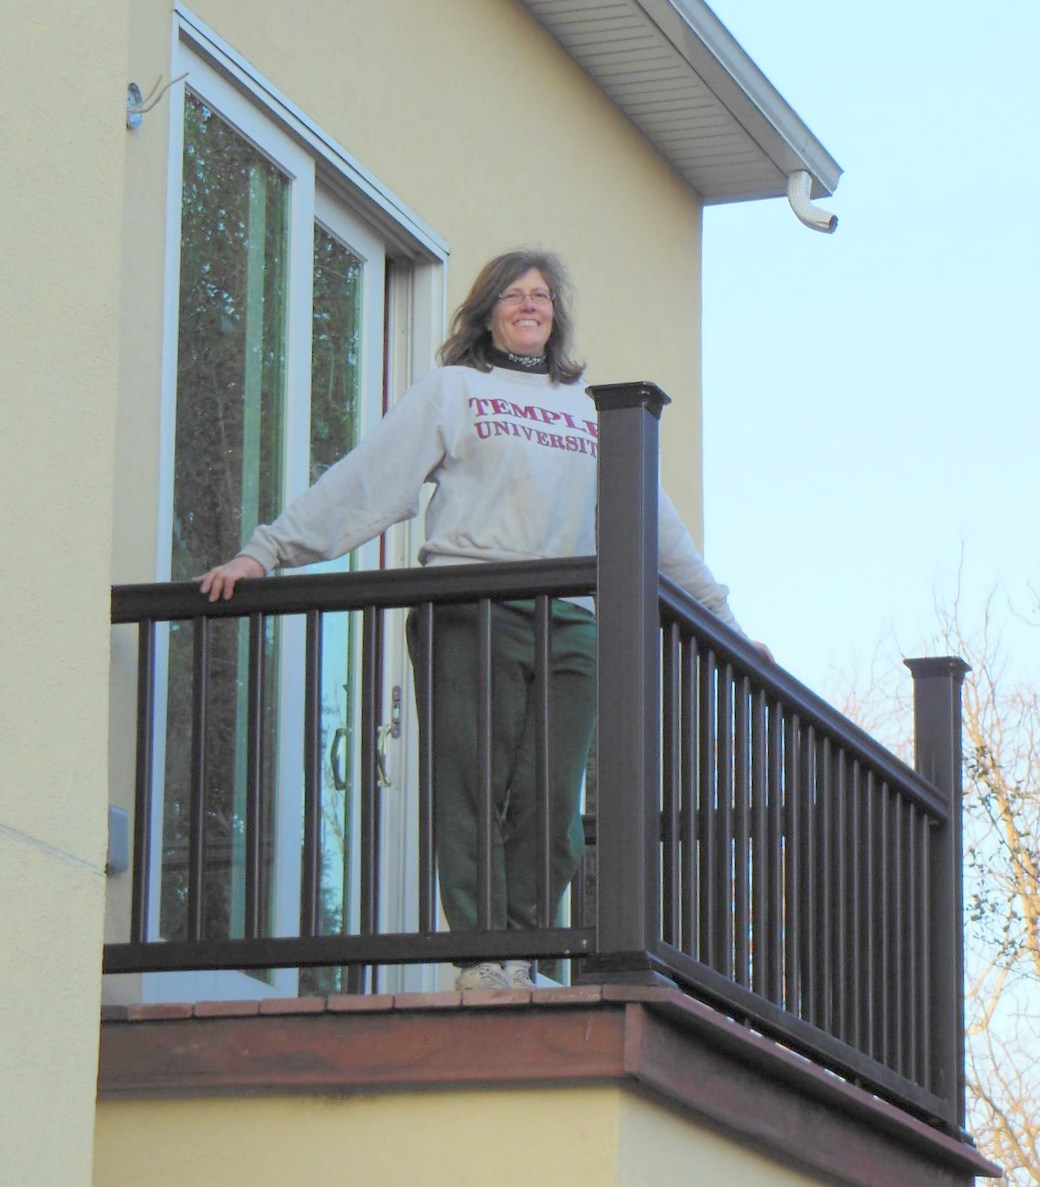
Tat being the case the only thing to attach the balcony posts to are
the perimeter boards...1.5" composite. Plan is to run 6" long lags
in three of the four corners, then use EZ-LOK thread inserts for the
remaining corner and 4 center holes. Step 1 drill 12mm holes
(no it would have been too easy if they were 1/2". I used
31/64th bit I happen to have...close enough.
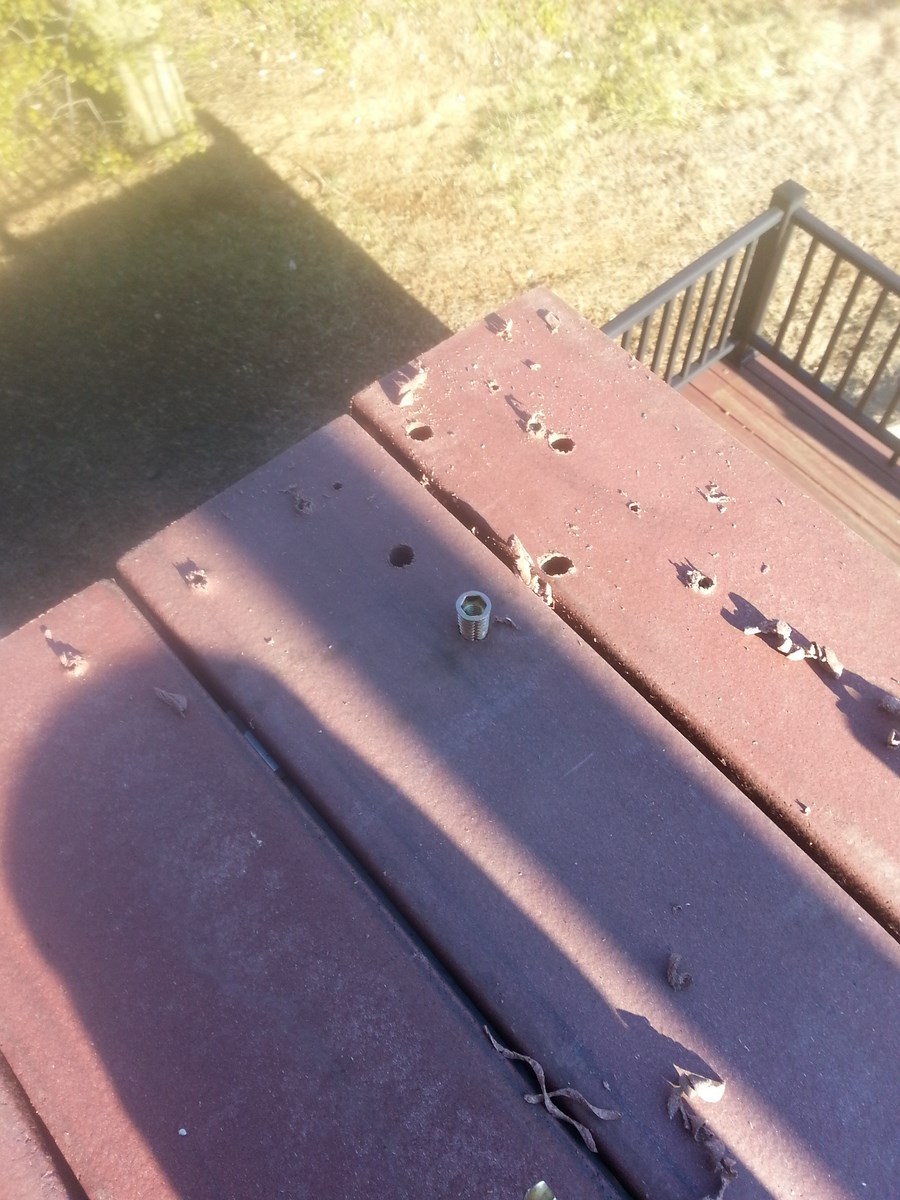
The threaded inserts accept 3/8" coarse thread bolts and are 1"
deep.
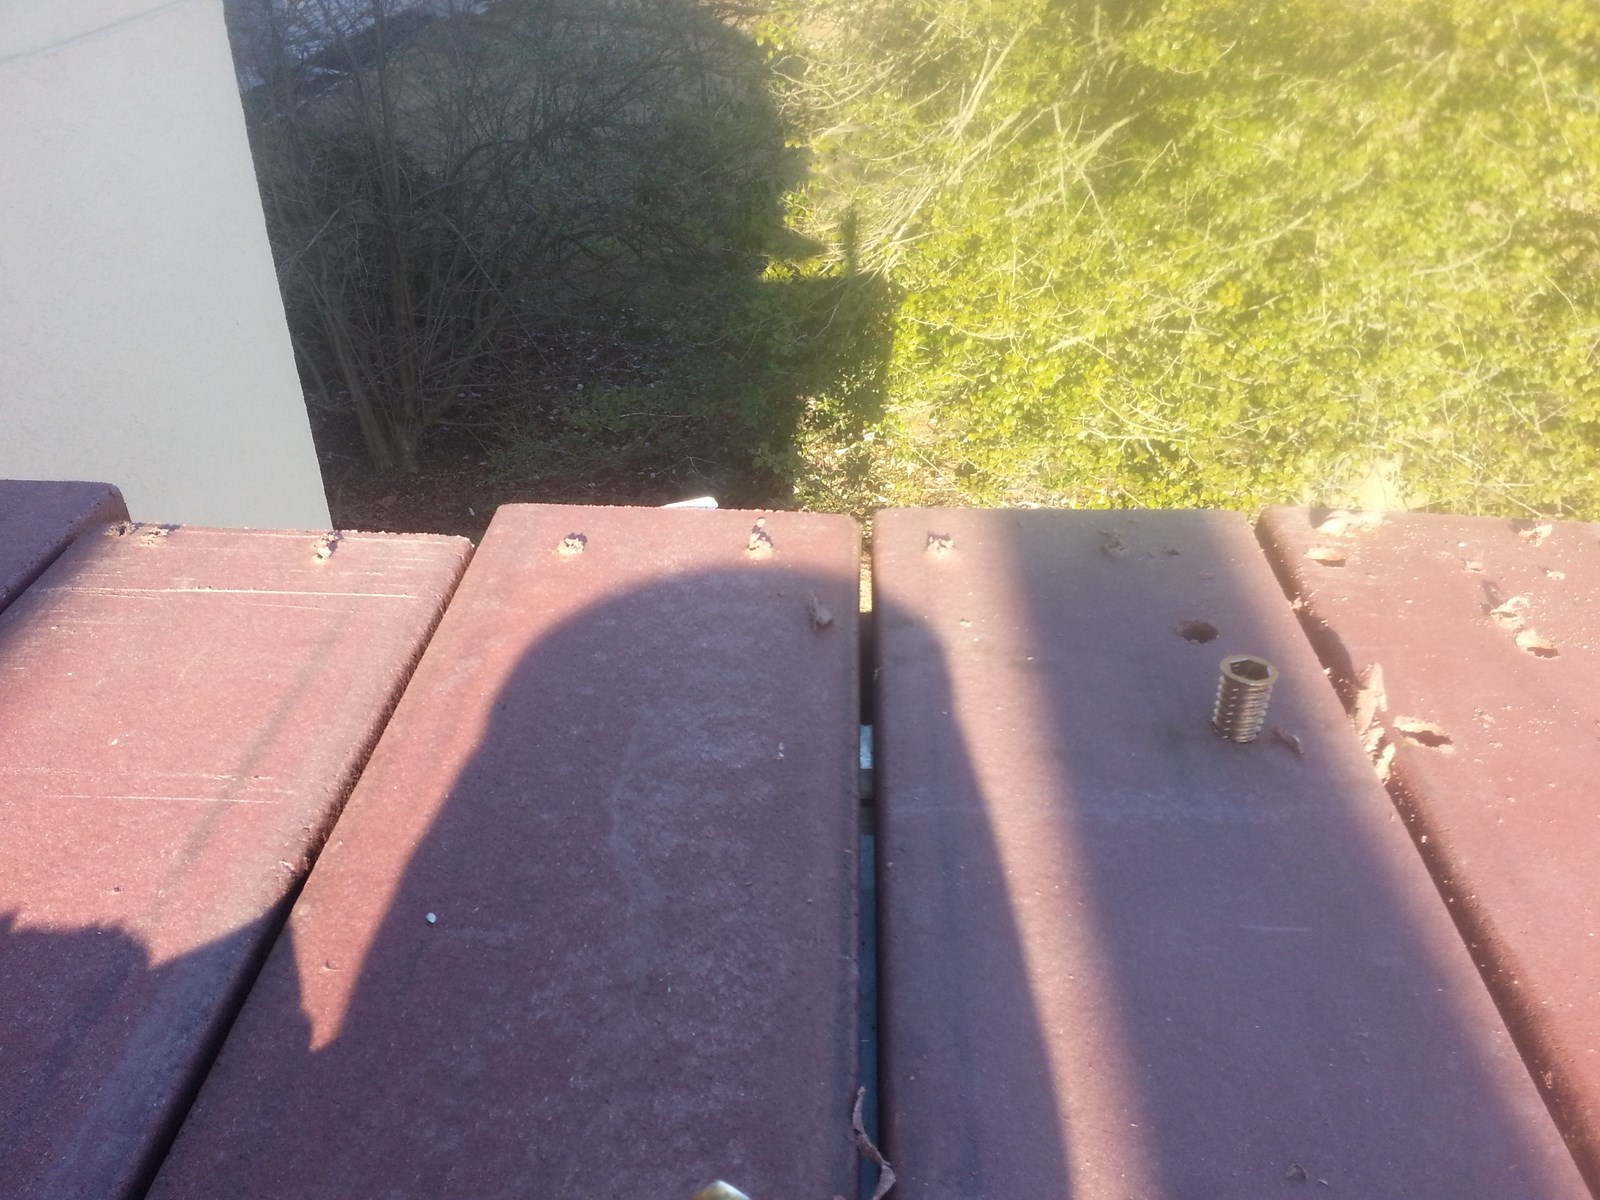
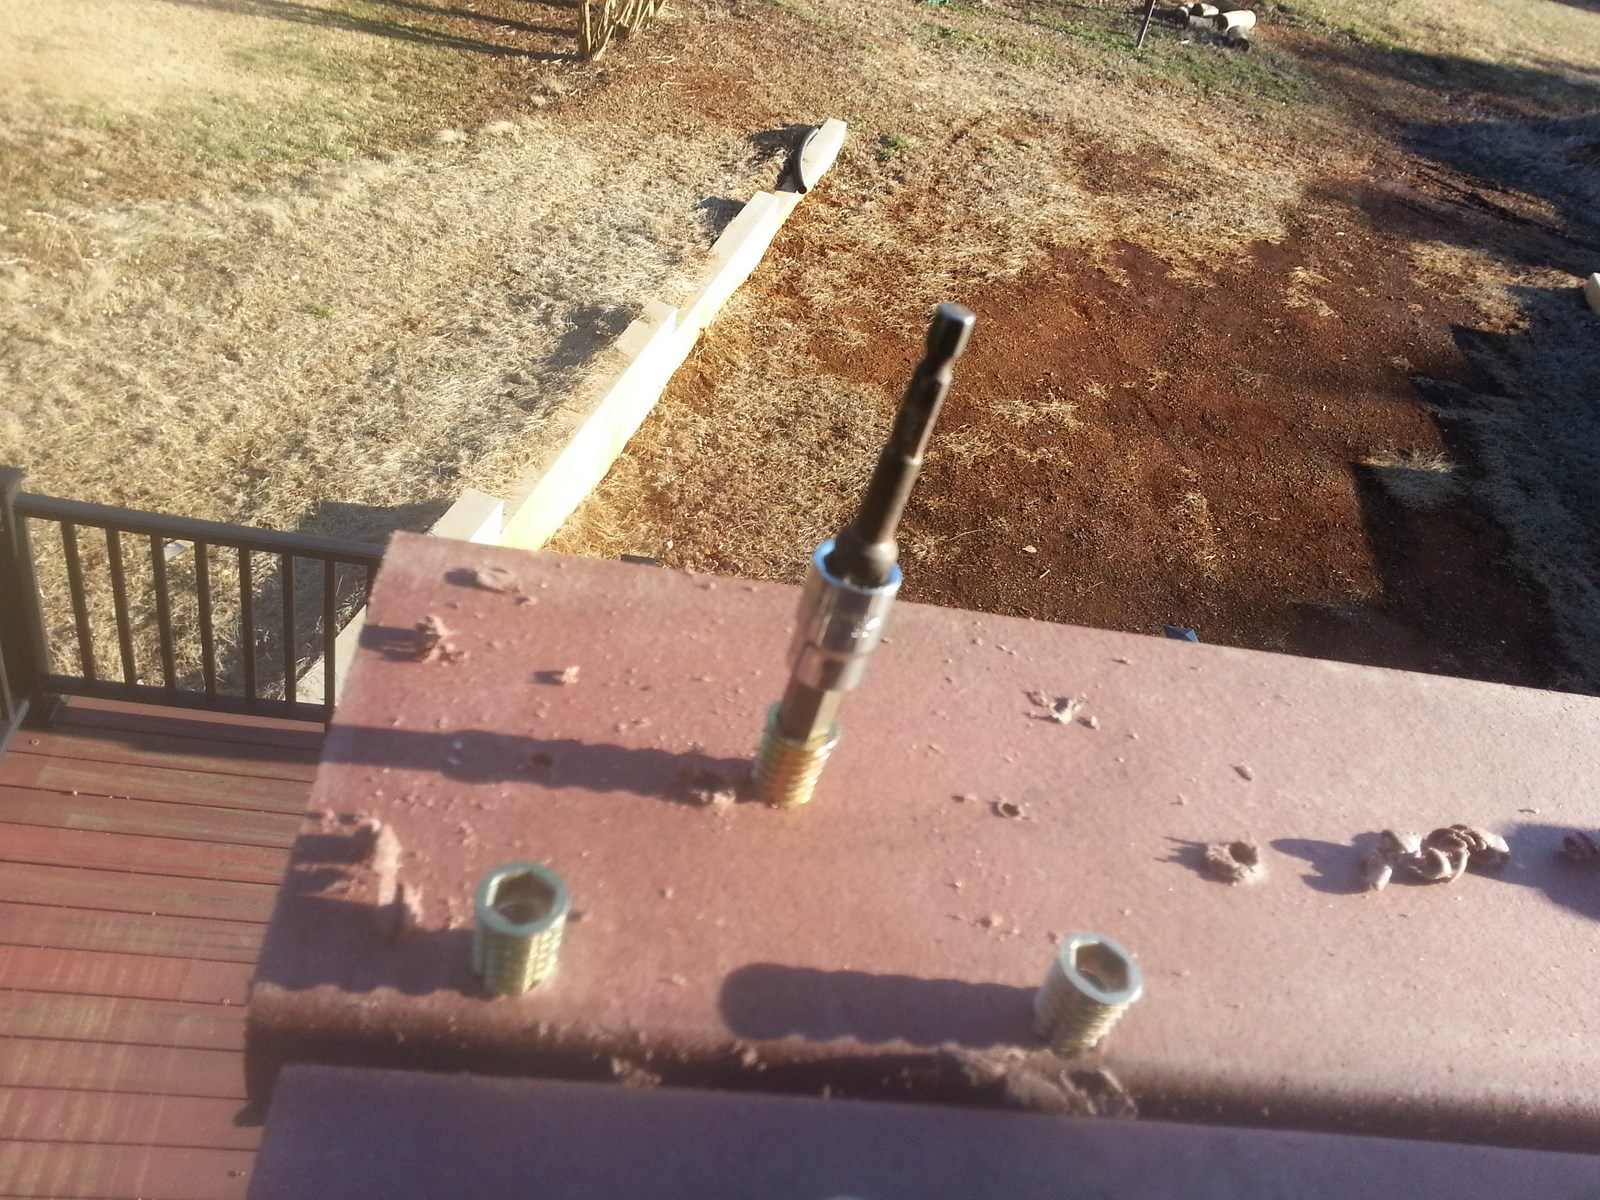
They install with an allen. They are, unfortunately, pretty
soft since they are made of Zinc.
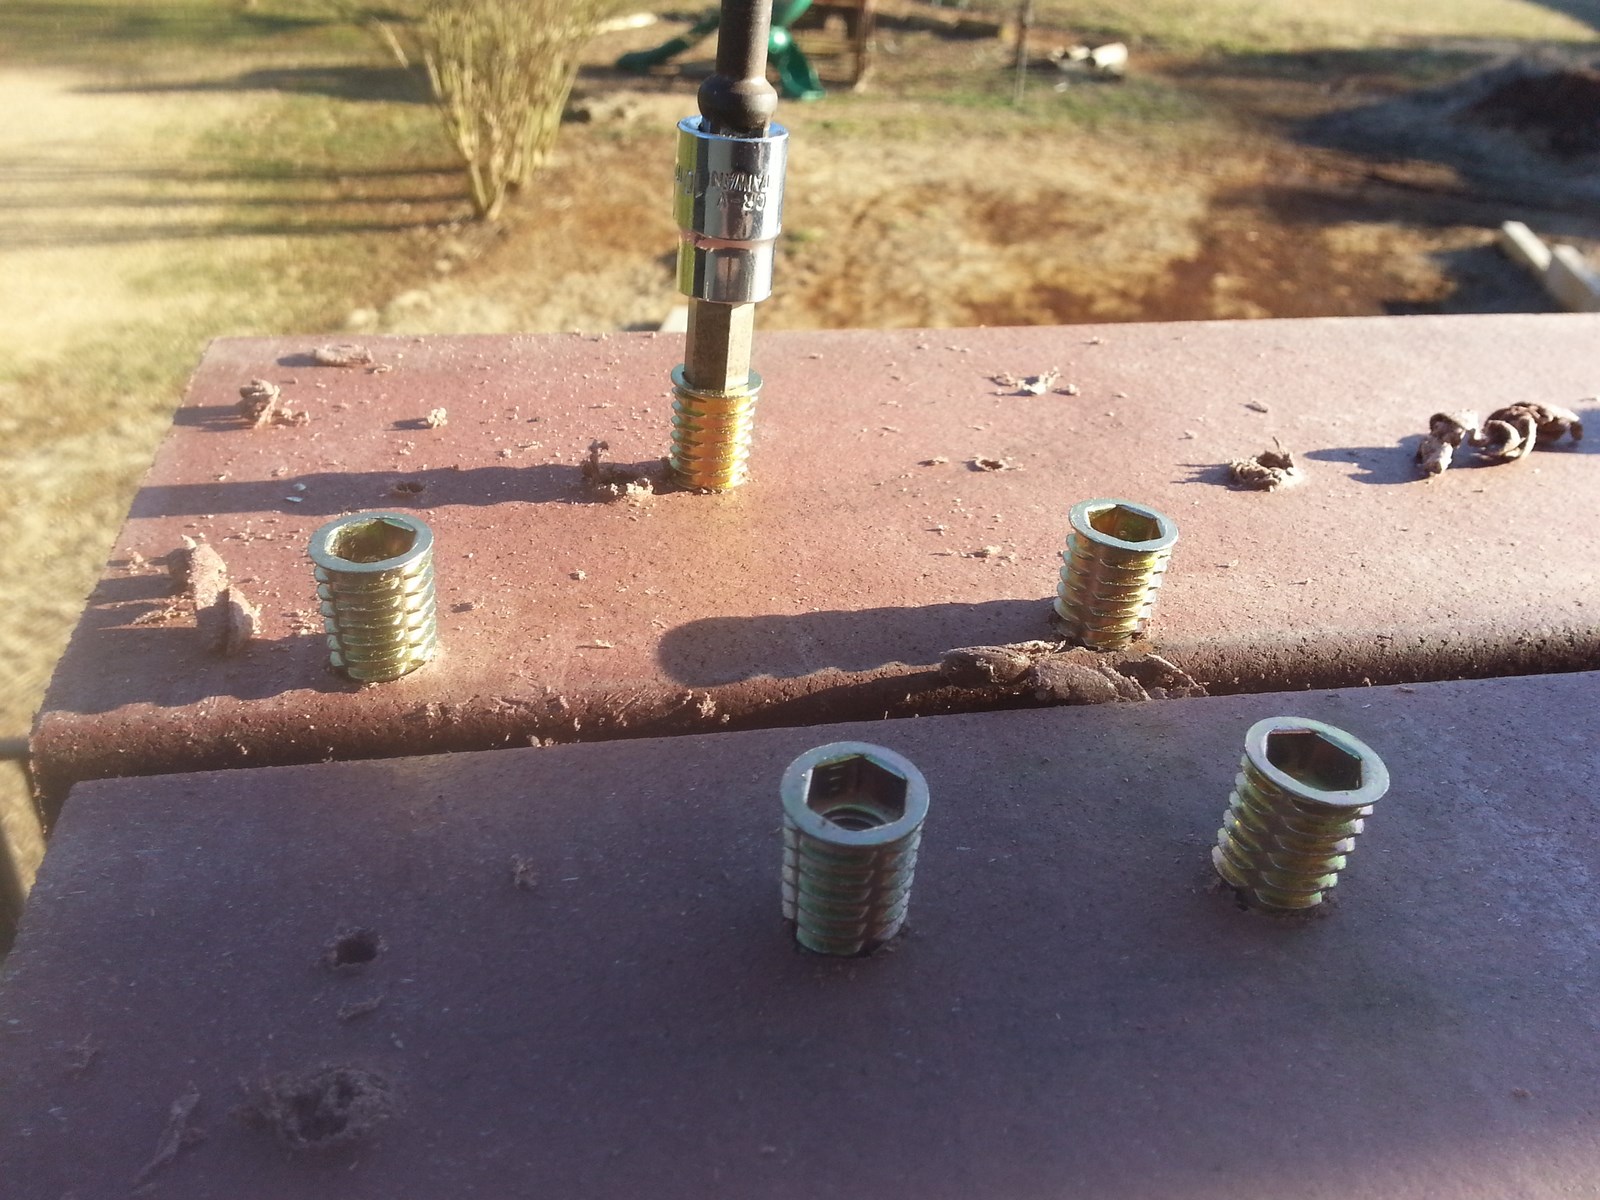
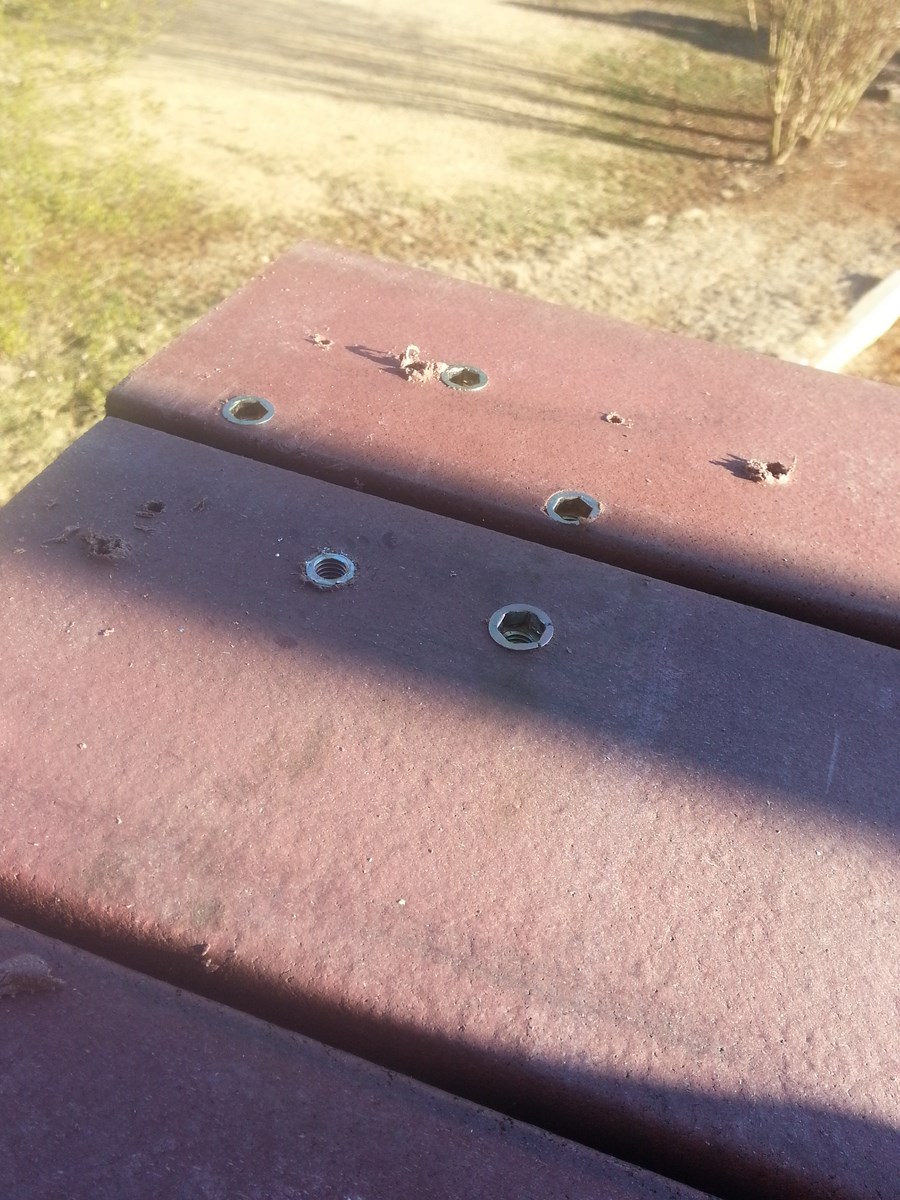
Five done, note that one cracked the hex collar off. Oh well.
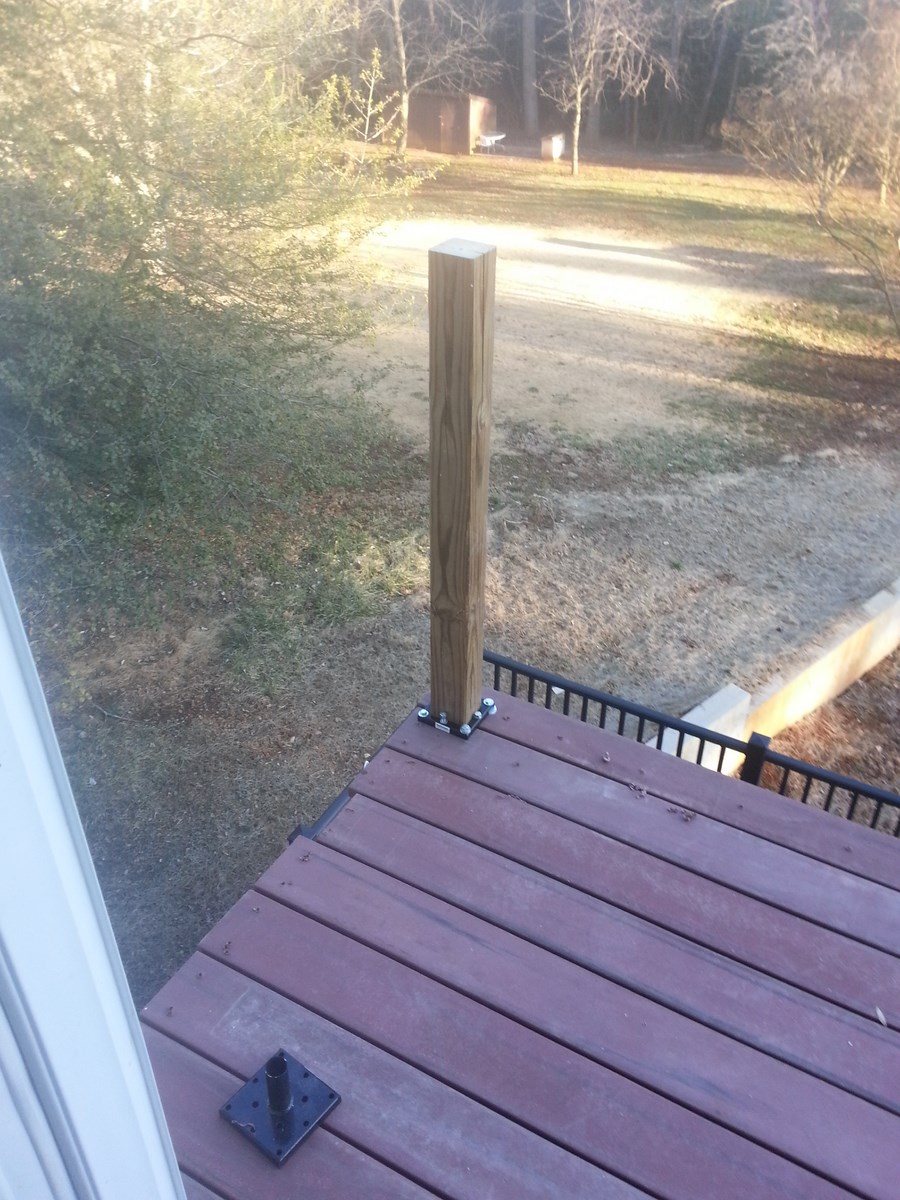
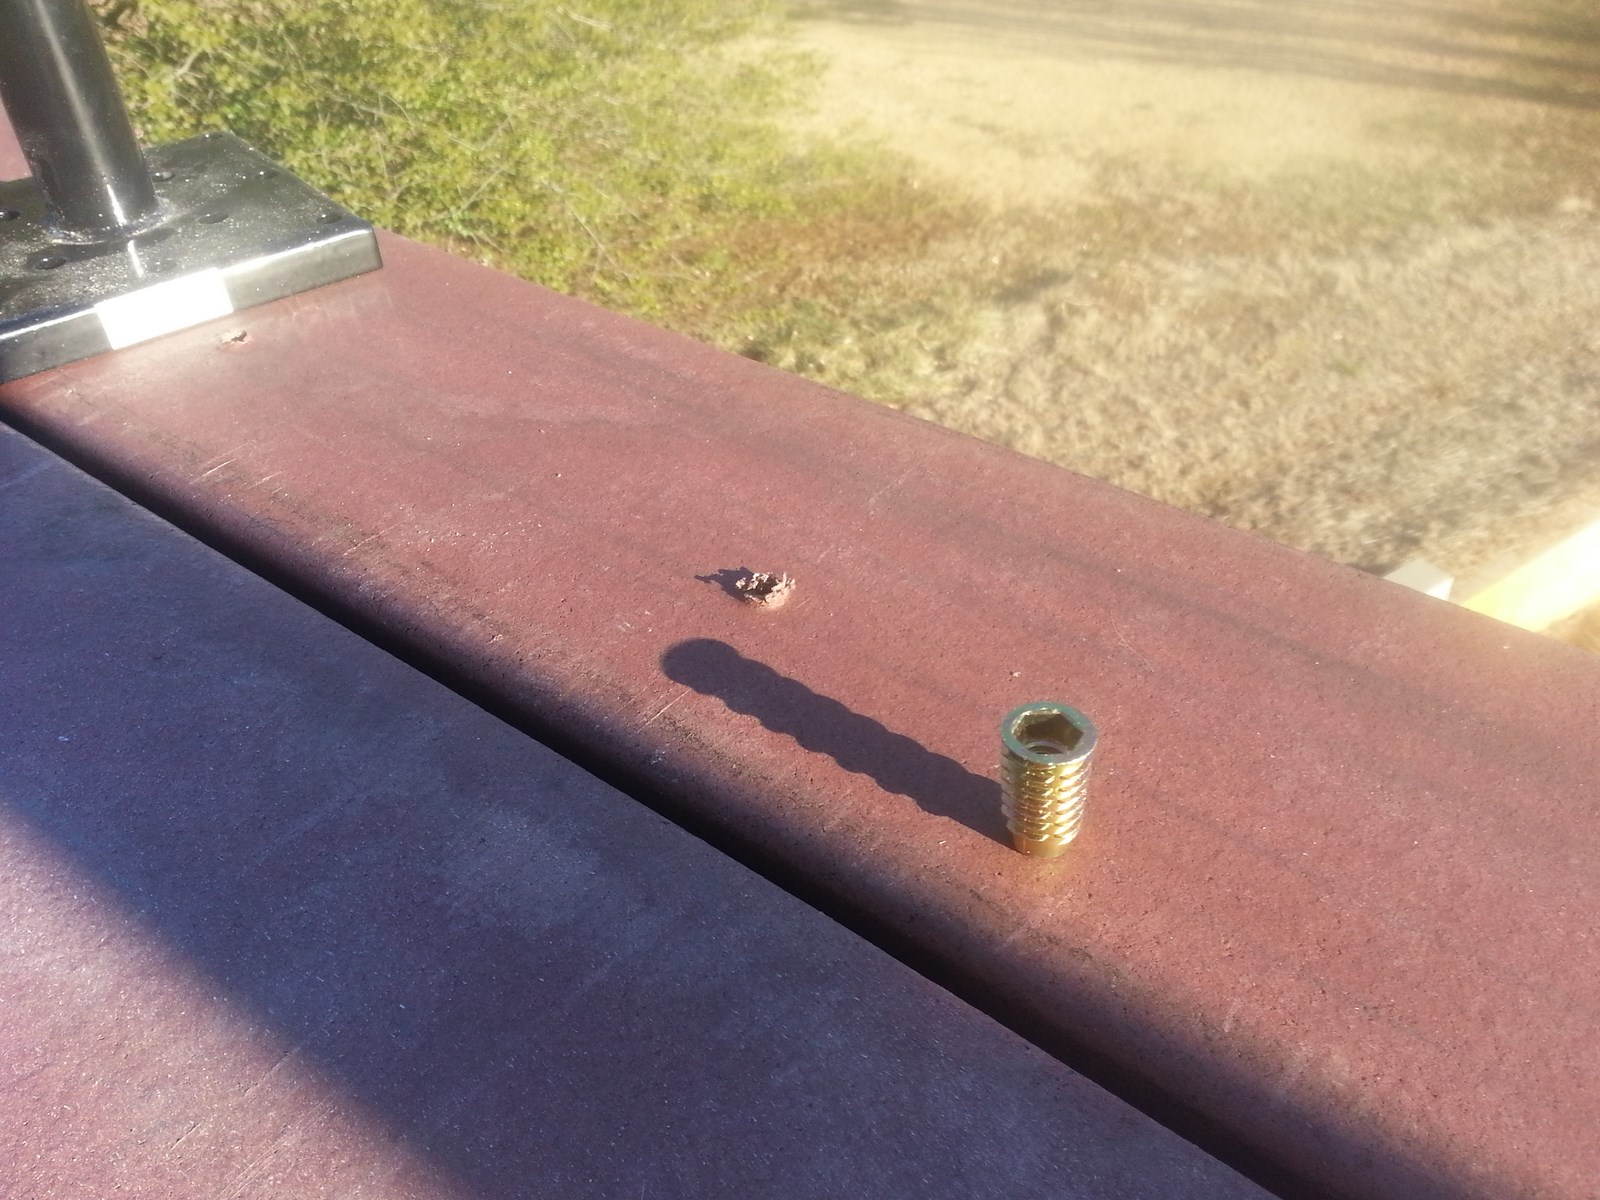
Done. Fender washers are used to level the post (see far
side).

Same treatment on the west post. One thing to note: The posts
are all split and a bit crooked. They weren;t that way when we
bought them...but they're gonna do that so let them dry before you
put them up and you can make them plumb.

Finally slide the cover cap and skirt on. Not to worry I have
a bigger skirt.